|
|
|
Photography How-To: Squaring up to
your Subject |
|
Obtaining sharpness edge to edge |
|
|
|
| |
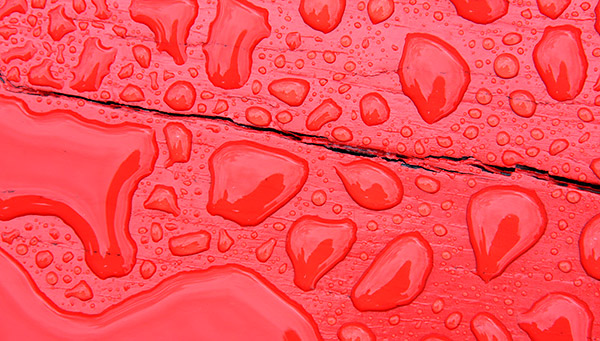
Rainwater on a red bench, Switzerland
The 'soft' look is in vogue in some quarters, but as this was a
subject I preferred to have sharp from edge to edge I took the time to make sure
that my camera plane was squared up to that of the subject. In other words, it's
sharp from edge to edge because my technique matched the goals I had in mind for
the final image.
Too often we take such pictures at an angle to the subject leaving only a small portion of it in sharp focus. You could 'small aperture it to death', but even f64 isn't going to compensate because macro shots are inherently devoid of 'good depth of field.'
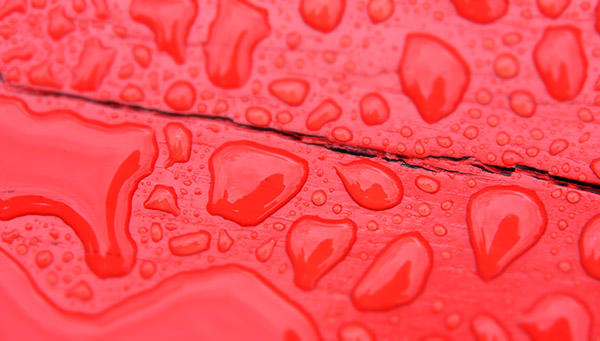
I didn't shoot a sample 'wrong shot' at the time, so the next image has been
adjusted so that only a central portion is apparently sharp, and now it looks
like it's a hand-held shot with an aperture in the vicinity of f5.6 or so.
Ahem, looks familiar doesn't it! Now perhaps this is your preferred technique, but for myself as the viewer, I find it to be more distracting than anything else.
Conversely, an image of say a water droplet hanging off the
bottom of leaf, and back-lit against dark background is a different technique
altogether, and can be categorized as a 'selective focus image.
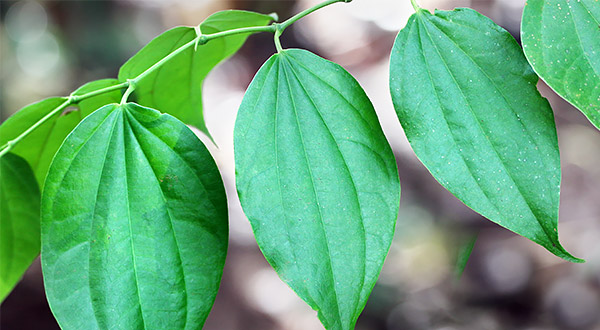
Here are a few examples whereby I set out to get square with
my subject, and keep the subject in focus across the entire image . . .
Shrub, Iguazu Falls, Argentina
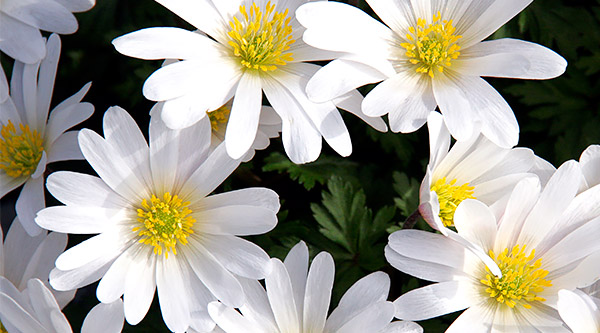
In the garden, Idaho.
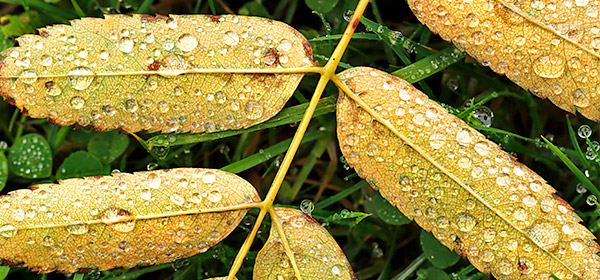
Water droplets on leaves, Nova Scotia, Canada
So the goal is . . .
When you're setting up a shot of this nature, do take the time to get it right. This will most likely include the use of a tripod, an aperture of f16 or smaller, and careful alignment of your camera plane to the subject.

Remember that whatever you photograph, the end result is limited only by your imagination!
|
|
|
|
Written and photographed by John Baker, Photographer/Guide, Travel Images Photography Tours
All images and text are strictly copyrighted by John Baker Photographer LLC/Travel Images Photography Tours, 1988 - 2026.
Permission in writing must be sought for any form of reproduction.
|
| |
|
Do you have questions or comments about 'Photo How-To'?
To share your thoughts or suggest a photography subject you'd like to see addressed, please Email me.
You're also welcome to submit images for critique, which run the risk of being used as a Photo How-To topic!
|
| |
|
 Return to the Photo How-To Index Return to the Photo How-To Index |
| |
|
Also see: John's
Photo Galleries | Client
feedback specific to John |
About Us
|
|
|
|
|
|
|
|
|
|
Facebook
YouTube
SmugMug |
|
|
 |
|
Travel Images Photography Tours: Guided Landscape, Natural History, Macro and Wildlife Photography Tours |
|
Email
| Phone: [+1] 208-559-8248 |
|
|
|
|